
When I got a camera a few months ago, I had my heart set on taking the best pictures of the sky, breathtaking ones like those seen in National Geographic and on Instagram. After a few attempts, though, I was confused as to why my photos weren’t showing the entire Milky Way and distant galaxies. These photos that I was trying to replicate, I soon discovered, were heavily edited photos that pieced together parts of multiple different pictures to create an unrealistic view of the sky. I started to wonder about this; why were the most popular photos of the night sky so vastly different from what can be seen with the naked eye? I set out to explore more simple ways to approach astrophotography. There must be a way to create stunning pictures of the stars that people can relate to, and I was intent on finding it. After plenty of research and hours spent under the stars experimenting with my camera, I was able to create pretty impressive photographs at night. Although they are not as breathtaking as the classic Milky Way photos, I found a certain comfort in these photos, as they are relatable to anyone who has peered up at the stars. Here are a few things that can help you get started on your own journey with astrophotography!
Find the right tools | Chelsea Hafer
You will need a few tools before you get started. A DSLR camera will work well, because you will be able to check the quality of your photos before shooting the next image. I have a Canon Rebel T6i, and although the quality could be better, I am usually happy with the quality after I edit the photo. You will need to set up a tripod for your camera, which can be found at most stores. I got mine at Best Buy for under $20.
Find the right spot | Chelsea Hafer
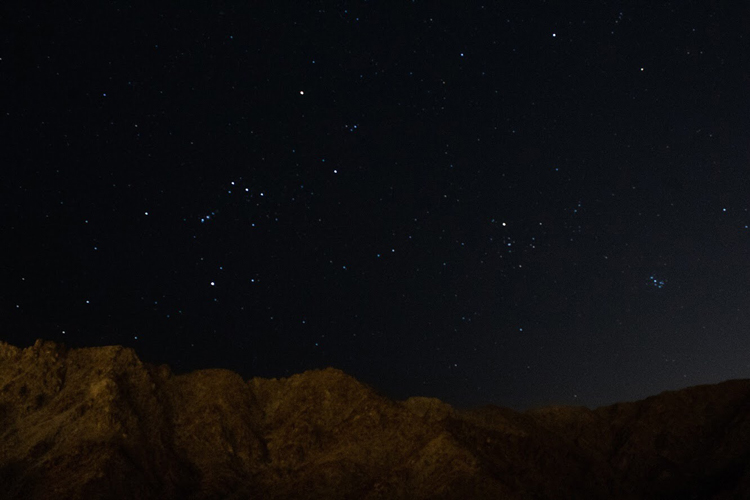
Once you’ve collected everything you need, it’s time to find a good spot. The best locations to shoot the stars have little to no light pollution, so try to get as far from civilization as you can. Set up your tripod in front of a swatch of open sky. Experiment with the foreground; try taking the picture with a tree or mountain in front of the sky.
Find the right focus I | Chelsea Hafer
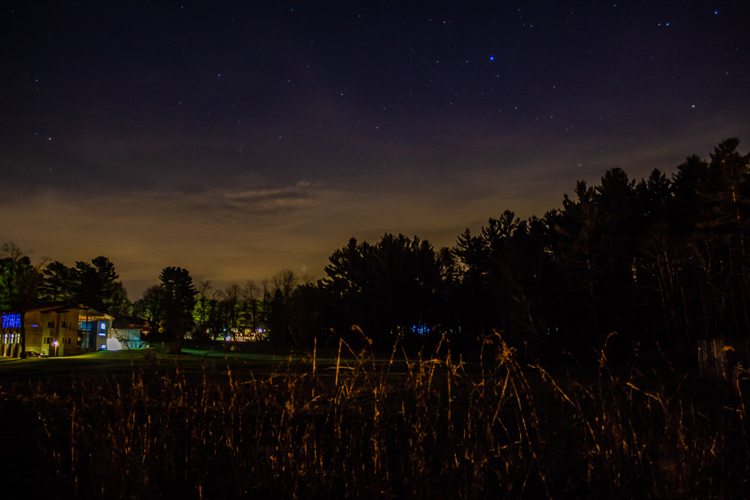
The hardest part of the entire process is properly focusing and exposing your image. Always take photos of the stars with your camera on manual mode and manual focus so you can control each setting. The shutter speed will need to be longer in this low-light situation. I normally have my shutter speed set to either 25 or 30 seconds. It is best to set your aperture to the widest setting to allow the most light to enter. My camera’s lowest f-stop is 3.5. Finally, you’ll need to experiment with your ISO settings. I have had my ISO set to anywhere from 100 to 3200, depending on the light around me. Try taking pictures with different ISO settings, and decide which setting you like best in each situation.
Find the right Focus II | Chelsea Hafer
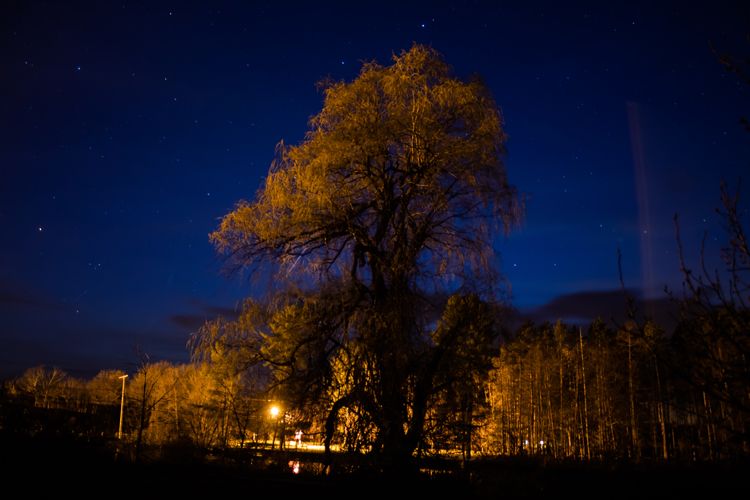
The image should be focused on the stars. To begin, look through your viewfinder and pinpoint one star. Adjust your focus until the star is the smallest point you can make it; this means that the focus is on the stars as much as possible. Next, set up your camera on the tripod and adjust it so that the composition of the photo is to your liking. You can position the tree or building in your foreground to either side, or center it if you prefer. When you’re ready, take your picture! Make sure to look back after each picture is done to make sure you don’t need to adjust any settings on the camera.
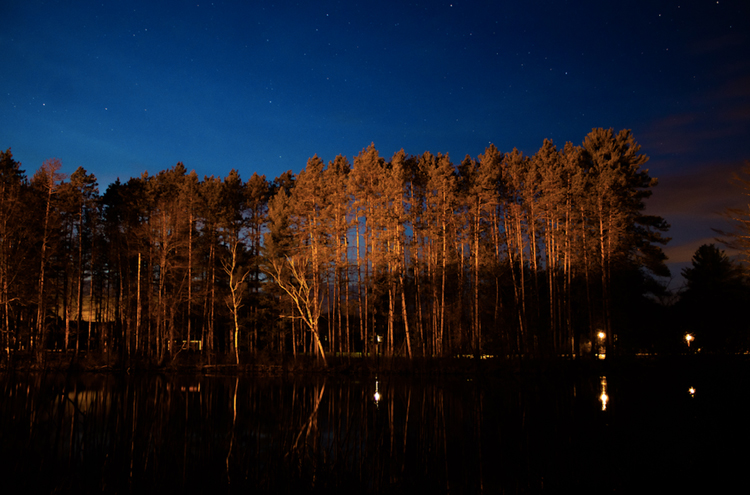
Getting into astrophotography has changed my perception of the sky. I always imagined space as it is portrayed in fancy, edited photographs. By taking up astrophotography, I was able to capture the sky exactly as I saw it; no galaxies, no streaks of quickly moving stars, but plenty of constellations and tiny faraway suns dotting the sky. This process has taught me to stop striving for an unattainable ideal and start creating things from my own perspective. Although it may be impossible to take the photo of the stars I’d always imagined, there are plenty of other photos that only I can take. I hope you get out there under the night sky with your camera and see what you can create.
Travel Journalism, Photography & Video Internship Seminar in Madrid, Spain