If you’re on social media, you’ve likely seen how flatlay photography has taken platforms like Instagram and Pinterest by storm in recent years. There’s just something so pleasing about that birds-eye-view shot of clothing, travel essentials, and breakfast in bed. The latter is particularly aesthetically appealing because of the way that food can be so artfully displayed, making our mouths water and senses tingle.
Have you ever wanted to lure people to your food pics using this method? Below is a structured guide that will help you to ace the art of the food flatlay.
Background
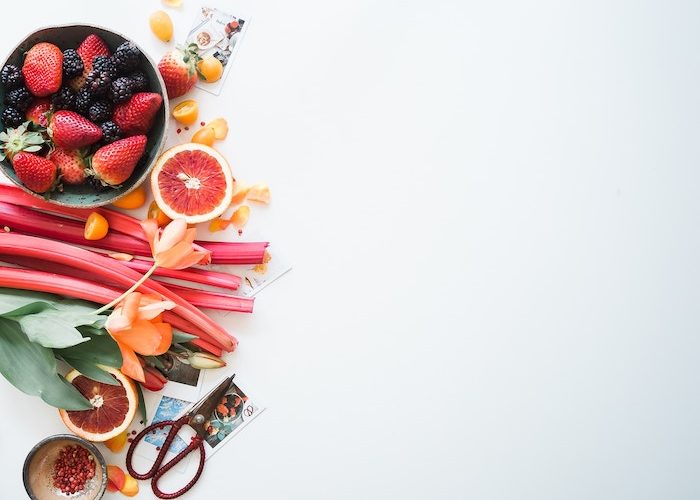
Simple block-coloured backgrounds are the way to go, such as white tile, marble, table tops, floorboards, and even bed sheets. They won’t distract from the food, and they act as a blank canvas on which to tell a story. The good thing with food flatlays is that you can use chopping boards to display your subject, a secondary background of sorts, against the main background. For example, a wooden chopping board looks classy and neat against a table top and is a fitting backdrop for the food that you’re showcasing.
Composition
Three words: rule-of-three. Simply put, the best way to go about this is the 3×3 grid method. The trick is to use Instagram’s square mode so that you can decide how the subject best fits within the intersections of the grid to draw further visual interest.
Laying the objects neatly and symmetrically is aesthetically pleasing and creates order, whilst artfully placing your subject and props makes for a graceful and natural arrangement. With food flatlays, you can experiment with both of these laying methods.
Negative spacing is another element to consider when placing your props. An easy mistake to make is creating a busy picture by overusing food, textures, and colours, so it’s important to keep some empty space in order to draw focus to the subject.
Lighting
A big issue with flat lay photography can be the shadows that are cast across the subject, usually as a result of taking overhead shots. The solution to this is using a tripod with a 90-degree angle or alternatively, natural lighting. The latter is, of course, the most affordable option, as all you need is a window to take pictures next to.
Post-production is key in enhancing the brightness of the photos. Consider Photoshop or even mobile friendly apps like VSCO and experiment with techniques that will make the pictures more vibrant and minimise shadows.
Props and Details
This is your opportunity to get creative. The main focus of your flatlay is your theme, and you should centre smaller details around this. For instance, a cup of coffee will look more aesthetically pleasing when surrounded by coffee beans or some sort of related object. These props must be strategically placed, but you can play around with your image and take a few shots before deciding on the best one.
You can also use other ingredients and objects at your disposal, such as jewellery, sunglasses or even your car keys if you’re out at a café. Don’t be shy to have your own hands in the shot as well, as this adds a personal touch and brings the shot to life.
As mentioned, this is your chance to be creative with your flatlay. However, having too many unrelated objects will clutter the flatlay and confuse the viewer, so keep your props relevant to the main subject.
There really is so much fun to be had with flatlay photography and so many ways to experiment. Whether you’re cooking something up at home and being creative with your personal tabletop or at a café using their aesthetic, you can use the above guide to refine your flatlay photography skills. Not to mention there’s the incentive of eating the delicious food once you’re done!