Concerts are a refreshing way to look at life, to look at the those around you. Seeing how each and every one of you came to gather in one place to do the same thing; listen to great music and escape from the mundane. Some concert-goers become so engrossed in this moment that they want to encapsulate it in a photo forever. With the ever-advancing technology of today’s world, taking high quality, breathing-taking photos are at the simple touch of our fingertips. However, in certain settings, such as that of concerts, we find it difficult to capture that great picture, either due to dark lighting or the wrong camera settings. Here are five quick tips to taking amazing photos with ease straight from your smartphone.
*Important: Always double check with the artist and venue to see if photography is allowed.
1. Picking A Subject
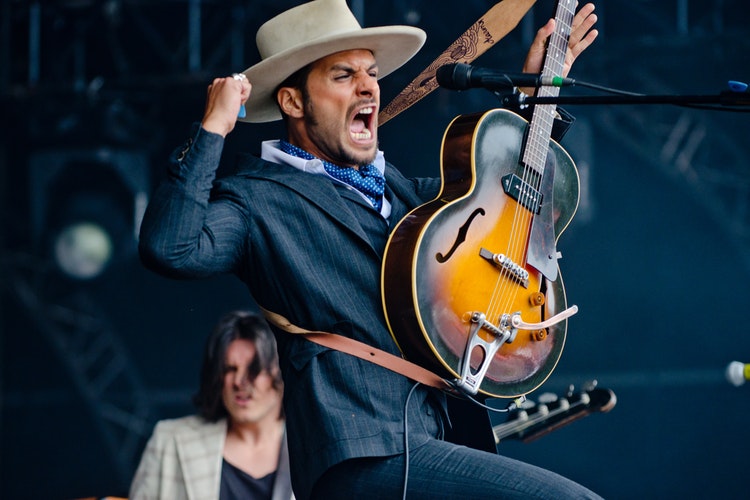
Pick the right subject | Thibault Trillet
Getting the right photo means knowing who your subject is. This may sound like a fairly simple task, but when there is more than one performer on stage, it may be a little tricky to pinpoint exactly who to focus on. Some tips to choosing your subject are seeing who has the best lighting, whether they’re moving around a lot, or if they are towards the front, back, or sides of the stage. Determining your subject beforehand is always the best approach. And please, for the love of all things photogenic, always shoot in landscape, never portrait!
2. Location, Location, Location!
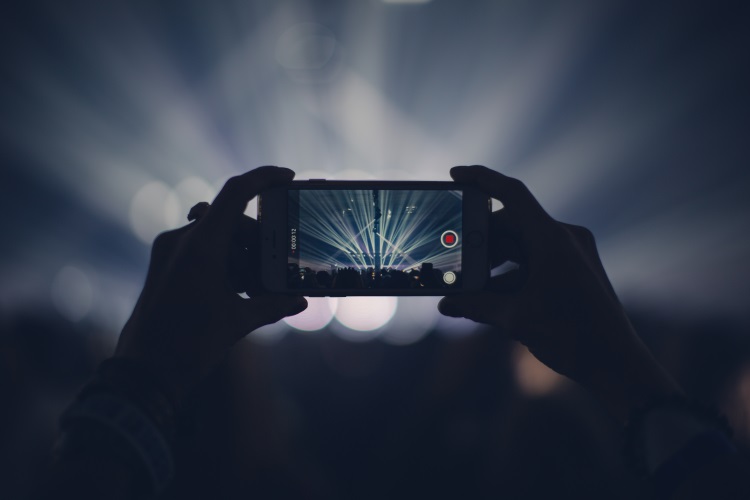
It’s all about location | veeterzy
Where you are in the crowd will determine how well your pictures will turn out. For instance, you are able to get a much clearer photo of the artist when you are standing closer to the stage than you when you are experiencing the joys of a nose-bleed seat. Try to arrive at the venue early to increase your chances of getting a good spot. If you are unable to get as close to the stage as you wanted, make sure you don’t zoom-in with your camera while taking photos. This can cause your pictures to become pixelated and blurry. Instead, edit your photos later on by cropping them to get a clearer focus on your subject. I suggest you do this with one of the photo editing apps that I will mention in the upcoming tips.
3. Going Manual

Adjust manually to get the best out of your photos | Lisa Fotios
Many of the camera options on your smartphone are set by default. This can cause a lot of your photos to come out looking grainy or cloudy. The best way to avoid that is by manually adjusting your settings, so that your phone will be better equipped to handle features such as light sensitivity and shutter speed (the speed in which you can take a picture). Although there is no way to effectively adjust the settings straight from the camera, there are many downloadable apps that make adjustments fast, easy, and just to your liking. If you own an android, you may want to look into the app, Camera FV-5 Lite, which has settings comparable to that of professional equipment. For iPhones, I recommend the app Halide Camera, which also provides similar settings.
4. Editing

Editing makes your photos unique | Thibault Trillet
When it comes to great pictures, your ability to edit photos is one (if not the greatest) aspects to photography. Please keep in mind, editing is a skill that may take time to master, but with practice comes perfection! Adobe Photoshop Lightroom CC is one of the best photo editing software that you can use straight from either your phone or laptop. The mobile app is free and easy-to-use, while the desktop version has a monthly subscription of $9.99. This software allows you to edit features such as the exposure, noise, clarity, and the temperature of your picture among many other things. Even though there is a general rule of thumb when it comes to editing concert photography (or any photography), every photographer adds their own flare to make their photos unique and representative of the way they see the world. Remember, photography is an art form where individuality is valued.
5. A Picture is Worth a Thousand Words

Tell a story with your photos | Thibault Tillet
This is probably the most important piece of advice I can offer you in pursuit of great photos. Always, always, always make sure that your photo tells a story. If you think about it, that’s all a photo is, a visual story. In order to do this, you need to make sure to include objects that help your viewers to understand what exactly it is they’re looking at. Yes, you may have captured a picture of a band, but what band is it? What type of music do they make? How does the audience react to their music? These are all great starter questions to help guide you in choosing what to include in your frame. It’s good to keep an eye out for any signs or logos with the band’s name on it. These may appear on the front of the drums set or displayed on a screen or banner behind the artist. Also, for the love of all things photogenic, always shoot in landscape, never portrait!
Knowing the right techniques can take a lot of the hassle out of getting the right pictures at a concert with your phone! So, be sure to think about who and what you want in your frame, where you want to be in the audience, and how you want to edit your photos. And with this, you’re ready to go!

